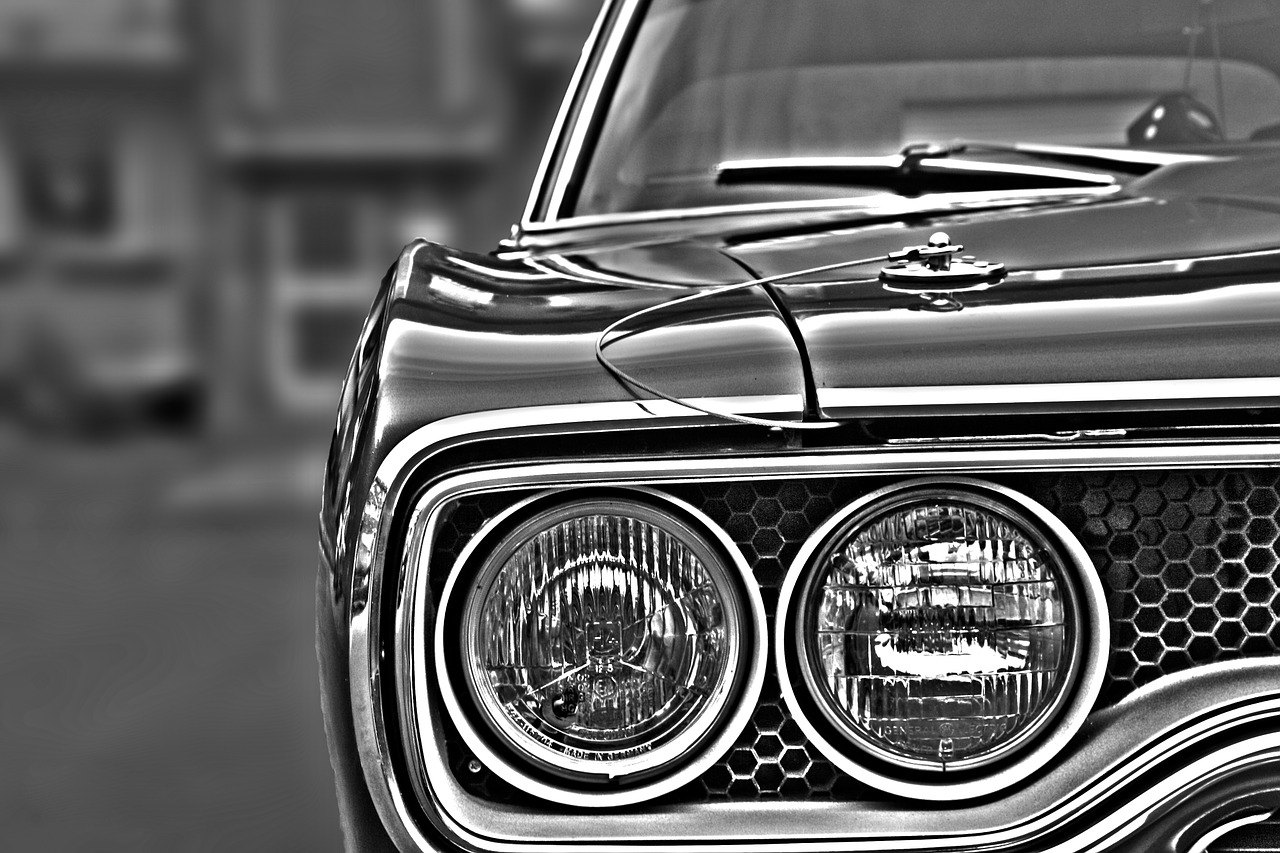
Fogged up headlights are not only unattractive, but also potentially dangerous as restricted amounts of light are adverse in illuminating the road ahead. If your headlights are foggy, you may want to pick up a headlight restoration kit which is certain to improve visibility significantly. De-fogging your headlights only takes half an hour to an hour and the only tools you will need are electrician’s tape, a latex glove, a sponge, some old newspapers, water and a buffing wheel, although the buffing wheel is optional.
Get a Restoration Kit
On the lower end of the price scale, a headlight restoration kits cost $10 and up, depending what is included in the kit, some kits come with a buffing wheel and are more expensive but having a buffing wheel makes the job easier. Most kits include sandpaper and an abrasive compound which is used to remove the outer layer of yellow and oxidized plastic. Kits that include a buffing wheel are compatible with a power drill. The price of the kits also is influenced by the inclusion of other items such as tape, gloves and protective liquids applied after clearing the lenses.
The Cleaning Process
De fogging headlights, regardless of the materials used, is a process by which the plastic lens designed to protect the actual headlight from debris and dirt blowing in the air of road surfaces. Lenses overtime can become clouded, pitted and scratched by sun exposure, the lenses are replaceable, however you can save money on car maintenance by cleaning them from time to time. Using a kit is the most recommended method as you can and should follow the directions, having a guide to refer to when you need to makes things much easier. The products should be used in the proper order, stay patient as you won’t see results until you have finished cleaning all of the residue off.
Protect Your Paint
Electricians tape included in kits such as the Sylvania kit help safeguard the paint around the headlights when abrasive compounds are applied, you could easily scratch the paint while sanding the surface with sandpaper. Electricians tape is also easy to pull off and wont leave any stick glue on your car’s paint surface. Newspaper can also be used for extra protection by taping some around each headlight. More than likely, no matter how coordinated and careful you may be, the compound is sure get onto your paint surfaces.
Cleaning the Lens
First clean the headlights with a sponge and regular soap, dry afterwards. Next, tape on the electricians tape and newspapers around each headlight. Sanding comes next, you should have two different grades of wet/dry sandpaper, the more abrasive sandpaper is used after you have sanded once with the less abrasive sandpaper. If you don’t have a kit, next you will need the clarifying compound of your choice, toothpaste can be used in this step however auto supply and parts stores sell various types, qualities and brands of clarifying compounds. Apply a quarter sized glob onto your clean towel or cloth and rub the headlights in a circular motion, one small area at a time. If you have a kit and it includes a buffer, use the buffer to apply the compound, using a buffer is faster but must be done slowly and gently, refer to your buffer’s directions for further instruction. Buffing may take some time, you can test your headlights by shining them onto a flat surface to measure your progress.
Protect Your Lens
Lastly, UV block coat (included in your kit or purchased separate at an auto parts and supply store) is applied on the lens, this helps to protect your lenses so that you will be less likely to have to replace or cleanse them more frequently. The results you can get with these materials and kits can be quite extraordinary, some better than others and usually the medium to higher priced cleansing materials and kits will yield the best results and are the easiest to use. The more you use your kit, your results should improve somewhat, however your headlights will end up looking much better and providing better lighting on the road.
An Easy Job
Defogging your headlights doesn’t cost much, is easy to do and satisfying in the end. Once your headlights start looking better, your car will be much sharper looking while driving at night will certainly be safer. If you de fog your headlights, you also will save money as you won’t have to replace your lenses and you will be less accident prone.